
As I mentioned in an earlier post this week, this past weekend the husband and I spent some time working on finishing up our loft. Over the past year we have really been narrowing down what we wanted the space to be like and it’s now it’s really finally all coming together. We started off with one simple bookshelf and from there it has grown into one of my most favorite areas in our house! You should check out some of my previous loft posts to see how much it has changed over the past year.
Over the weekend, we went to Target and bought the final bookshelf, side table & lamp, as well as a desk for the loft. We had previously had a desk in there, but my husband now works from home and we had to move the desk that we had in the loft in our bedroom for him to use for work. Gosh, he sure knows how to ruin my décor! (Just kidding!)
Of course, since we had a desk again we needed a new chair for it. Now, I don’t know about you but I am not a fan of the clunky, unattractive, standard office desk chairs that you would usually gravitate towards. I wanted to think outside the box a bit and find a cute, pretty chair to match my loft style!! I have never done a chair revamp before, but I have always wanted to try one and I figured no better time than the present to try. I didn’t think it would be too hard, and it really wasn’t!
So, with this in mind, I trekked out to my local thrift stores in hunt of the perfect chair to use as a desk chair. It took me a few stops, but I finally found one that I love. I wanted something with a wooden back, and this little baby caught my eye! The price tag made this even better, only $7! Steal of a deal if you ask me! I bought this little baby and brought her home to start working on making her into something gorgeous!

I started by removing the chair cushion, and then I sanded the chair down to get it ready for painting.

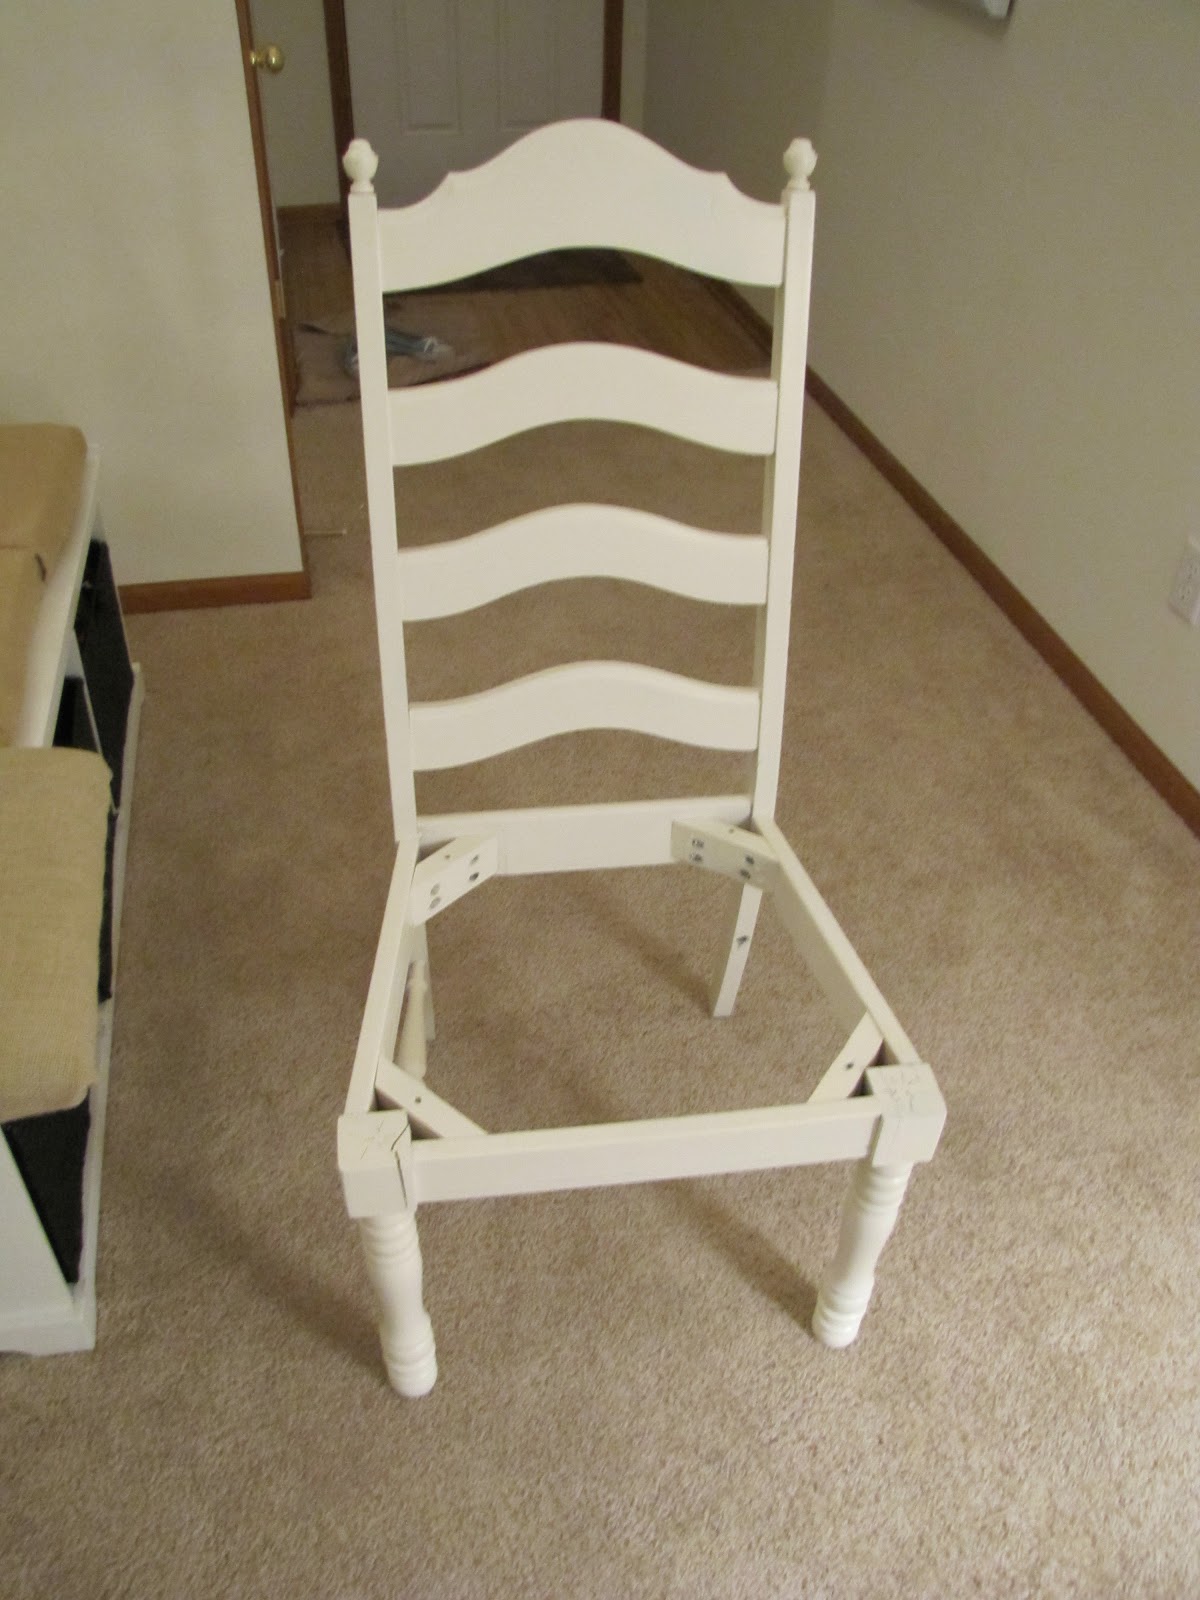
I opted to use one of my go-to favorites for the paint color, Rustoleum’s Heirloom White of course. I used this same paint color on the corkboard revamp that it is my loft as well, so I figured this was the best way to tie it all together (plus I am just in LOVE with the color!). I had to coat the chair with about 3 good layers to make sure that it was well covered.
Here she is looking nice and pretty after all the paint! Already so much better!!
For the chair cushion, I opted to go with burlap for the new fabric. I love how classic burlap is! My husband is not much for prints or anything that is feminine looking, so burlap is the perfect compromise for us. It meets his requirement of simple and plain, but still satisfies what I want in the room.
I took my burlap and started wrapping it around the cushion. I don’t really know if I did it in the “right” method, but as long as it looks good go with it! I used our staple gun to secure it in place as I wrapped it around the cushion. Super simple and within minutes I had a beautiful new cushion!


Once I was done with the cushion, all I had to do was reattached the cushion to the chair and I had the most adorable office chair that I had been dreaming of.

Don’t you just love it?! It better than I had ever hoped it could be! Overall, my first chair revamping experience was amazing! I am kind of addicted to it and want to do another one, although I have no place for another chair in my house! Haha!! Hopefully I will find an excuse to makeover another one in the near future.
So here’s a few more pictures of how cute she looks in my loft now! Did I tell you yet how much I love it?! :)


So, I am dying to hear your thoughts on it! Hope you love it as much as I do! I will be doing another loft post when the room is completed. We have ordered the loft seat that we have wanted and it should be delivered in the next week. I can’t wait to see this room finished! I hope you will swing by again to check it out once it’s done! I know I can’t wait to show you!
**I linked up this post to the following parties, swing by to check out other great projects!***
http://www.theshabbychiccottage.net/
http://www.justagirlblog.com/
http://www.fingerprintsonthefridge.com/
http://shabbynest.blogspot.com/
http://froufroudecor.blogspot.com/
http://www.bedifferentactnormal.com/
http://www.domestically-speaking.com/
http://www.creationsbykara.com/
http://somedaycrafts.blogspot.com/
http://www.shanty-2-chic.com/
http://designergarden.blogspot.com/


