So, in my last post I said I had some GREAT ideas for this little baby!!!!
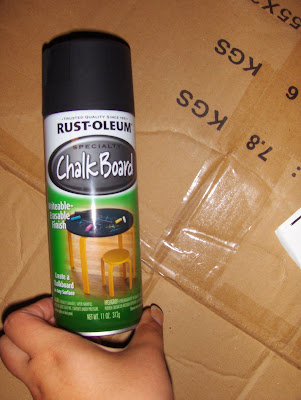
 As you see, we haven't gotten much use of this little white board calendar recently. Considering the last time I even wanted to update it was April and it has been sitting in my loft, I had the bright idea to re-purpose it and use it as a CHALKBOARD!! This inspiration comes in part to all the great blogs I have been reading lately and each one had some kind of chalkboard renovation on them and I thought it would be an great use of this calendar board. So, I went an got myself a spray can of chalkboard paint (under $5 might I add) and went to town! It was SUPER simple to do!
STEP ONE: Tape up the edges of the board. I just used painters tape since that's what I had on hand.
 STEP TWO: Prep spray paint can. I have NEVER spray painted before and I was nervous about it since I have heard there is a "technique" to doing it, but it really wasn't as hard as I thought it would be.
 STEP THREE: Paint the board by coating evenly, I did three coats of paint total and then let it dry overnight. When it's all said and done it looks like this!!

Okay, so as you can see I had a little LEAK on the bottom edge, but otherwise I am proud of how it turned out! I really think there will be more chalkboards created in my future because it really was so easy and I love the look & feel it adds to my house! The BEST thing about it is that since it was originally a white board it's magnetic so I didn't even have to add the extra magnetic paint! Two for one if you ask me!!!
I decided to add this board to the doorway that goes from my laundry room to the kitchen. I thought it would compliment well the new decor I added to my laundry room and I love that it's the FIRST big thing you will see when you walk in the door. I think it will be nice to change the saying as things come up, events, holidays, and what not.

Isn't it cute? It says "There is no place like HOME" in case you can't read it. I think it adds even more to my cute little laundry room! This definitely makes me want to paint this room now and get a new light fixture, but like I have always said it's one step at a time!! So, tell me what you think about it?! I would LOVE to hear your thoughts!! :)

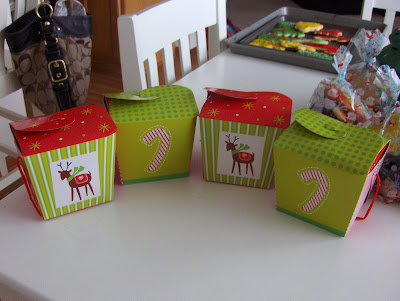
 I normally BURN my sugar cookies, so this year another goal was to make them not CRISPY but perfectly yummy and I must say I was proud of how they turned out.


 As you see, we haven't gotten much use of this little white board calendar recently. Considering the last time I even wanted to update it was April and it has been sitting in my loft, I had the bright idea to re-purpose it and use it as a CHALKBOARD!! This inspiration comes in part to all the great blogs I have been reading lately and each one had some kind of chalkboard
  STEP TWO: Prep spray paint can. I have NEVER spray painted before and I was nervous about it since I have heard there is a "technique" to doing it, but it really wasn't as hard as I thought it would be.
 STEP THREE: Paint the board by coating evenly, I did three coats of paint total and then let it dry overnight. When it's all said and done it looks like this!!


